User Instructions: Using the Powder Printer
To use The Powder Printer, place it on your work surface with a freshly kiln-washed shelf in the recess, as shown:

Next, choose your stencils and powder colors. While it is possible to mix and match stencils from different sets to achieve unique and original results, we recommend that you start with the stencils from a single set. Here we are using the three-stencil mandala set.

The numbers engraved on the stencils include important information:

Place stencil number 1 in The Powder Printer. Do this by inserting the stencil at an angle into the double-peak alignment bar:

With the double-peak alignment keeping the stencil properly positioned, lower the stencil onto the shelf.

Here’s the setup ready for the first powder application:

Full sifters drop powder more evenly than partially full sifters so fill your sifter with powder even if you only intend to sift a small amount. You can return the unused powder to the jar when done.

Sift the powder onto the shelf and stencil, keeping in mind the following sifting tips:
- Hold the sifter in one hand and, with your other hand, tap the sifter lightly and repeatedly for even sifting.

- Do not sift by shaking the sifter.
- Hold the sifter about 3 inches (75 mm) above the stencil and move the siifter slowly back and forth while tapping gently.
- More light layers will yield more results than fewer heavy layers.
For most designs, powder should be just a bit shallower than the stencil.

Note that for some designs, very narrow details may need thinner applications of powder to prevent the detail from collapsing. In these cases, you will likely want to choose darker and/or opalescent colors.
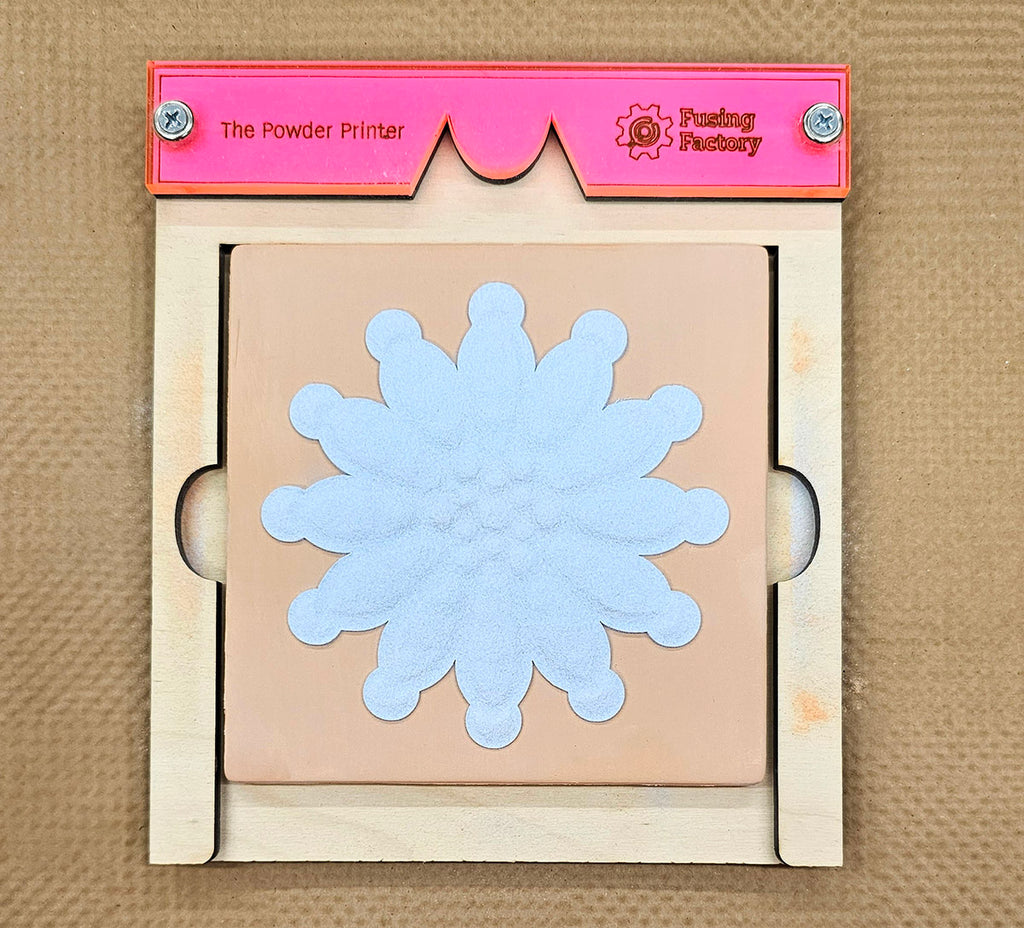
Here’s the powder sifted on the first stencil:

The next step is to lift off the stencil. To do this, we simply reverse the steps we used to put the stencil in place. First, lift the closest edge of the stencil about an inch (25 mm).

With the stencil lifted off the shelf, lift the entire stencil slowly towards you, backing the double-peak out of the aligner.
The powder on the stencil is uncontaminated so it can go back in your powder jar.
The easiest way to do this is to dump the powder onto a creased piece of copy paper and then pour the powder into the jar.
Place the second stencil on The Powder Printer the same way you placed the first stencil. So long as the double-peak is positioned in the aligner, when you lower the stencil onto the shelf it will be perfectly positioned relative to the powder already in place.

Here’s The Powder Printer ready for the second color:

Repeat the steps you performed for the first stencil. Sift around the powder that is already on the shelf to help keep the overall powder thickness as even as possible.
Here’s the setup with the second color powder on the shelf.

Place the third and final stencil on the shelf, again following the directions from above.
Sift powder over the stencil. For the final stencil of each set, sift until the powder just barely covers the edge of the stencil’s cutouts. The powder should be thick enough that plastic is hidden but it should be shallow enough that the stencil’s design is clearly visible.
Remove the last stencil and place the shelf in the kiln.
Here’s the results:

You will want to fire some test wafers to determine the best temperature for firing. This schedule (which, like all schedules in these instructions, should work for both Bullseye and Oceanside fusible glass) is a good starting point:

Your exact schedule will be dependent on your kiln and how fired you want your wafers to be. Less fired wafers are easier to refine (for example cleaning up edges) but they are more fragile and prone to breaking. More fully fired wafers are tougher but can be difficult to refine and will sometimes have edges that begin to roll up (especially when the wafers are very thin).
Here’s the finished wafer from above:

